Chico Elite Stucco: Stucco Contractor in Chico, California - Residential & Commercial

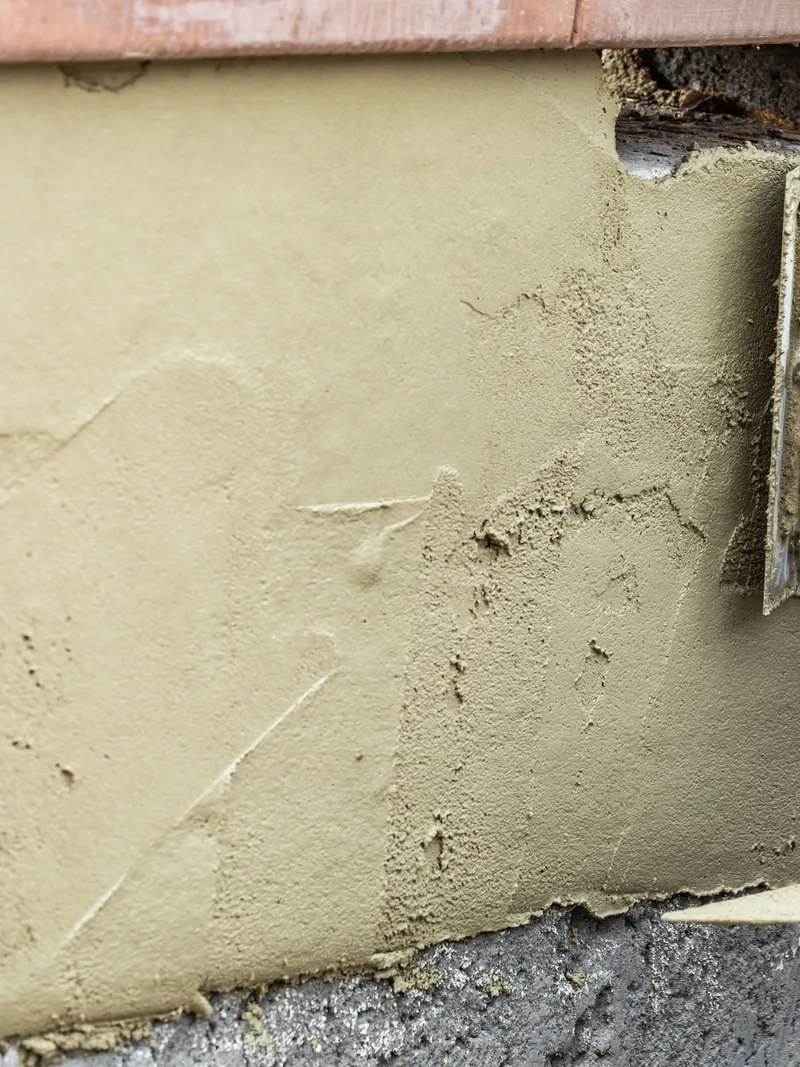
Chico Elite Stucco provides stucco installation, repair and resurfacing for residential and commercial properties throughout Chico and Butte County. We install complete exterior stucco systems for new construction, additions, remodels and siding conversions. We also repair everything from isolated cracks and impact damage to deteriorated walls that need removal and replacement. Our other services include stucco painting and coatings, inspections, moisture remediation, decorative finishes, stone veneer and interior plaster.

For new stucco installation, we build portland cement plaster systems to ASTM C926 over wire mesh called metal lath, which gives the wet plaster a surface to grip and is installed to ASTM C1063. The complete system includes the water-resistive barrier, the building paper or wrap that is the wall's real waterproofing, along with the flashing, components that work together behind the finish you see. We build traditional three-coat stucco, one-coat systems and other assemblies, and we help you choose the one suited to your wall, schedule and building conditions.

The right repair depends on whether the problem is limited to the surface or extends into the wall assembly, so our repair work starts by finding that out. Small cracks and damaged sections can often be repaired without disturbing the surrounding stucco. Widespread deterioration, recurring moisture problems or failed underlying materials may call for remediation, resurfacing or full removal and replacement. We also match the existing texture and color, including finishes in which the color is mixed through the material itself, known as integrally colored finishes, along with acrylic finishes where appropriate.

We have more than 15 years of stucco experience and are licensed and insured. We work throughout Chico and Butte County, including Oroville and the ridge communities, and we also serve parts of Glenn and Tehama counties. We specify every project for the existing wall, its exposure and the drainage conditions it faces. Call or use our online form now for a free estimate.

Get A Free Estimate

Why Choose Chico Elite Stucco as Your Stucco Contractor in Chico

Chico Elite Stucco works to a clearly defined scope, settled before we start work.

  • 15+ years in business, on residential and commercial work.
  • Licensed and insured, with general liability and workers' compensation coverage.
  • Written scopes that name the system and the finish before you approve anything.
  • Free on-site estimates, with no charge for the visit.
  • Built to ASTM C926 and C1063, the standards for applying plaster and for the lath under it.
  • Texture and color matched, so repairs and additions blend in rather than stand out.
  • Moisture checked before we price when the wall shows signs of it, so the scope fits the actual problem.
  • Clean, protected job sites, with plants and hardscape covered and the property left tidy.
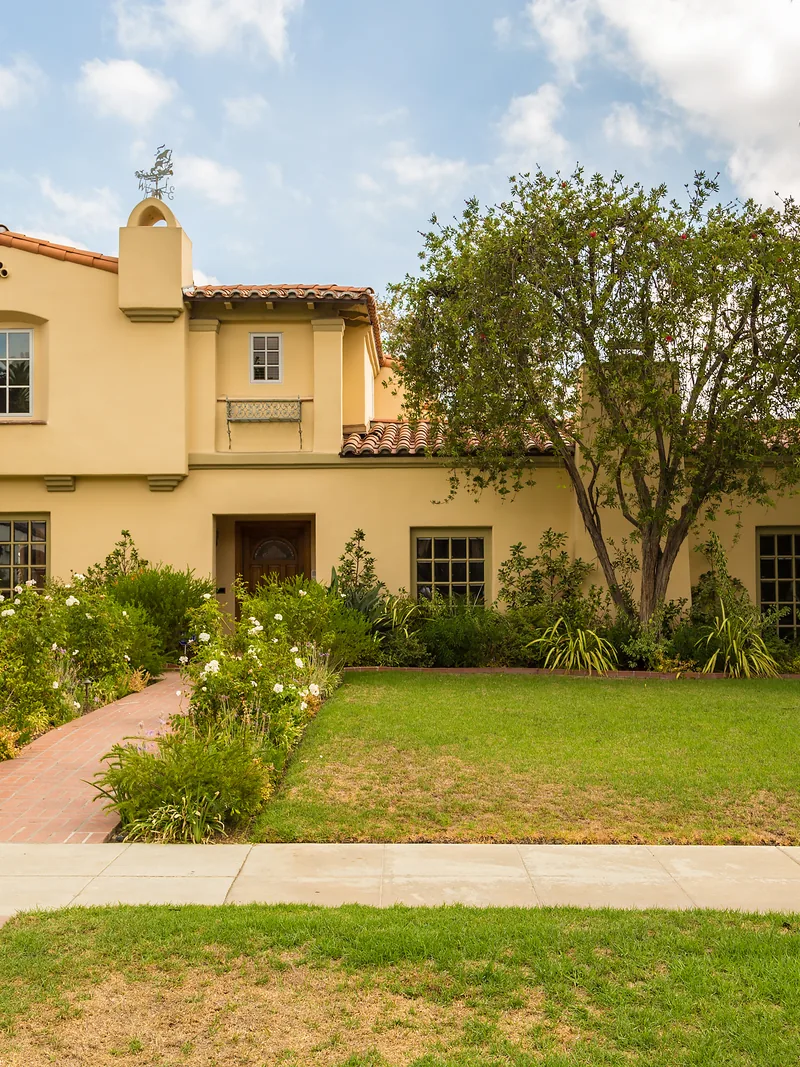
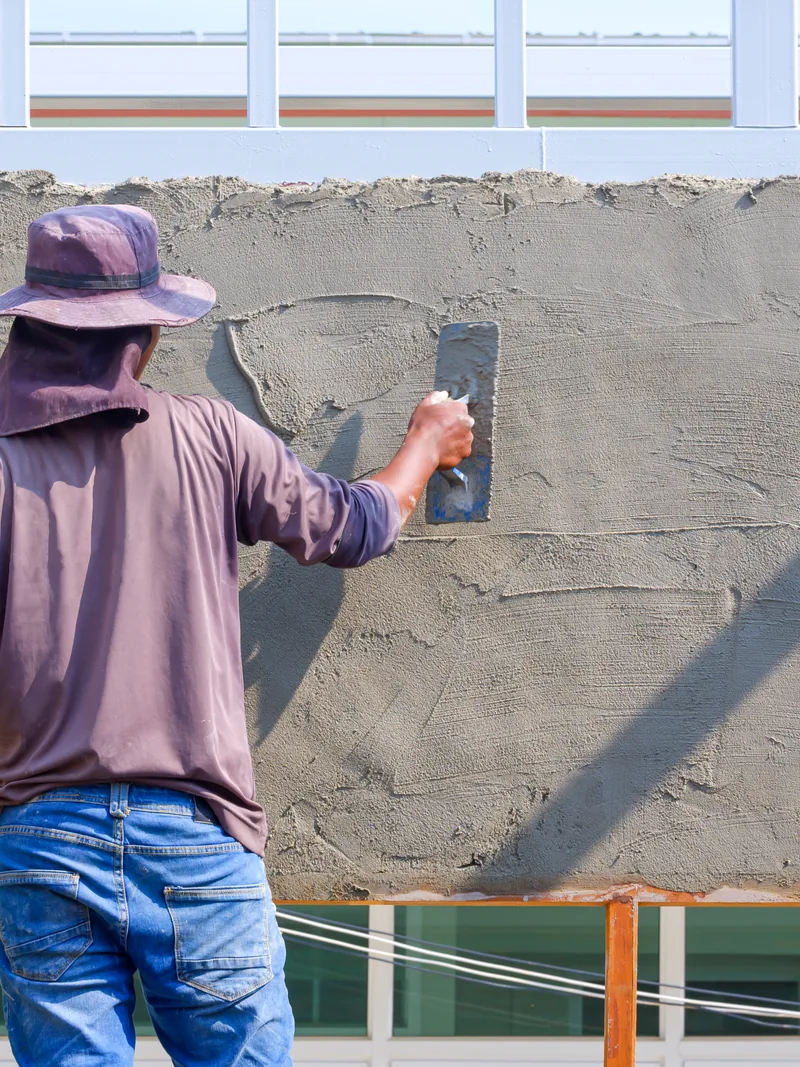
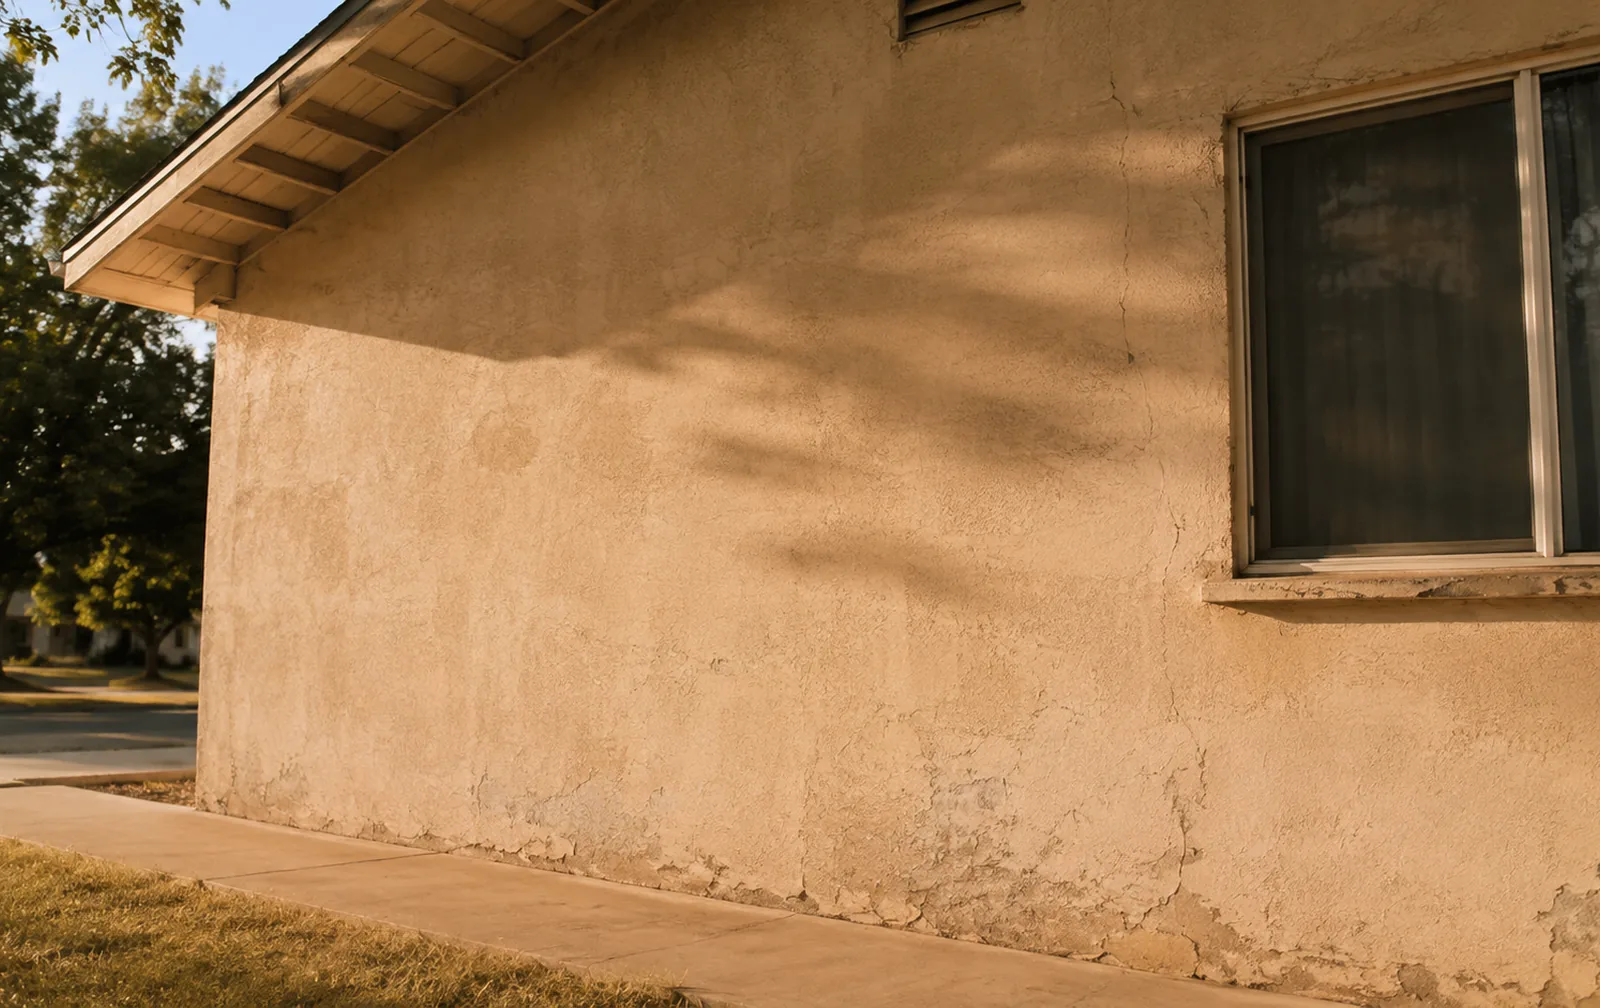
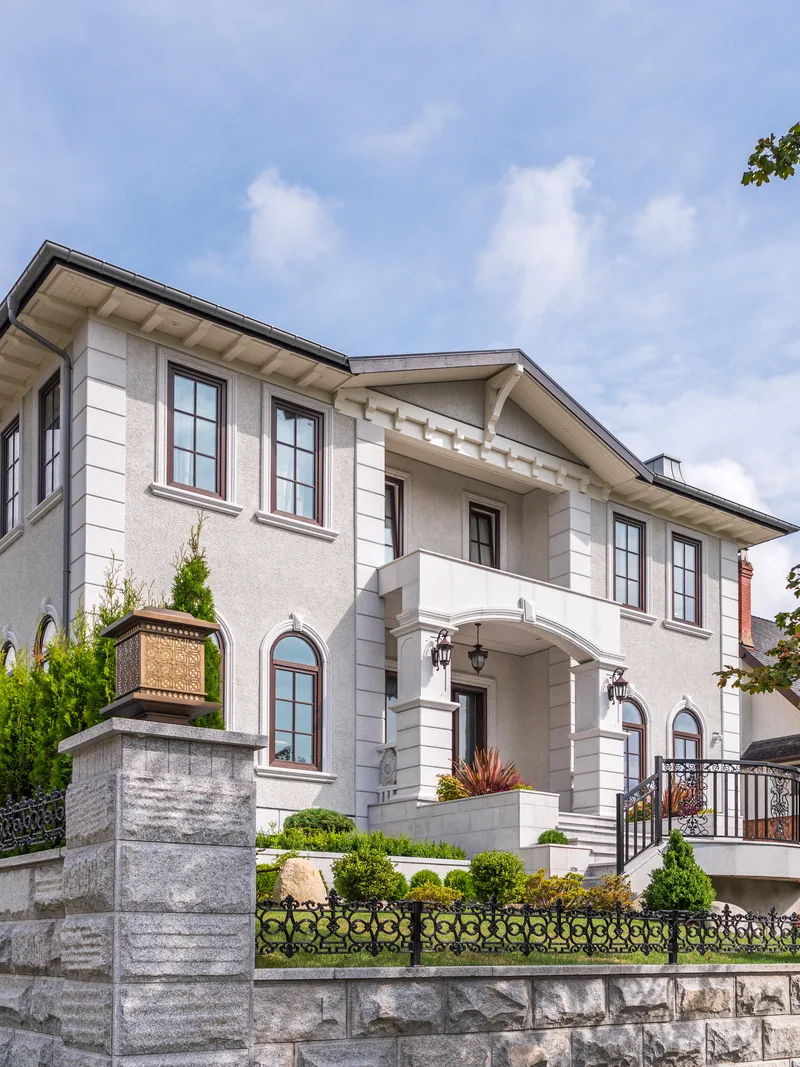
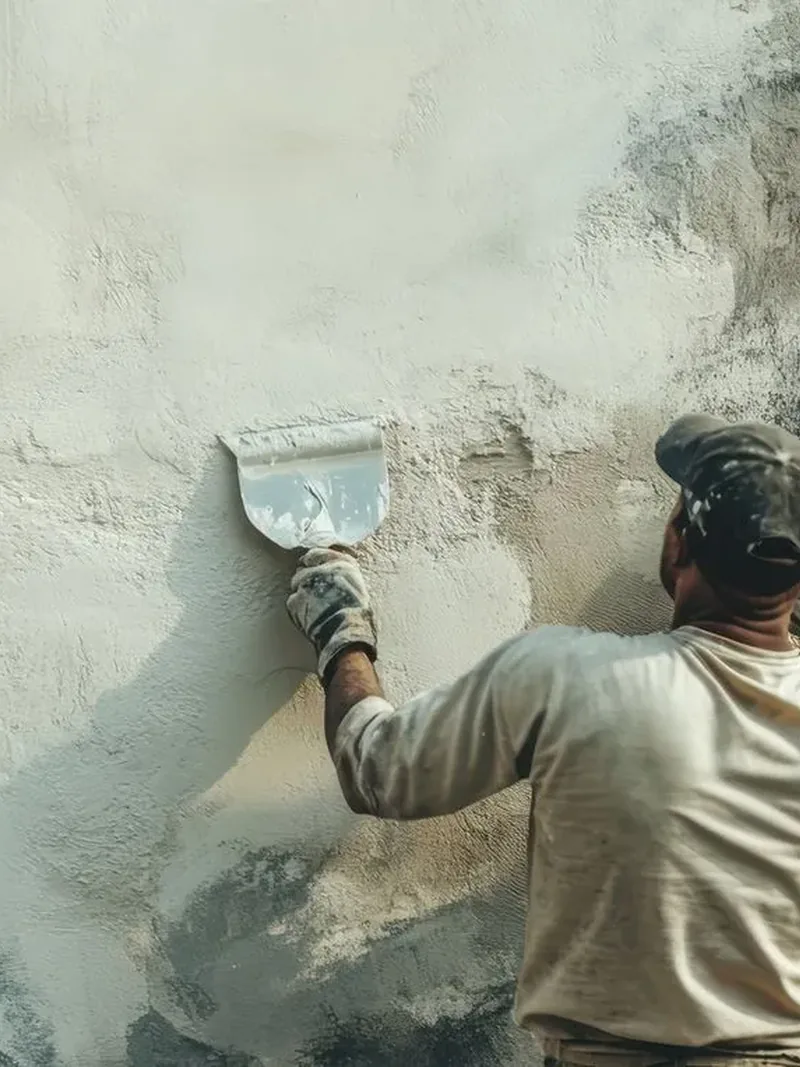
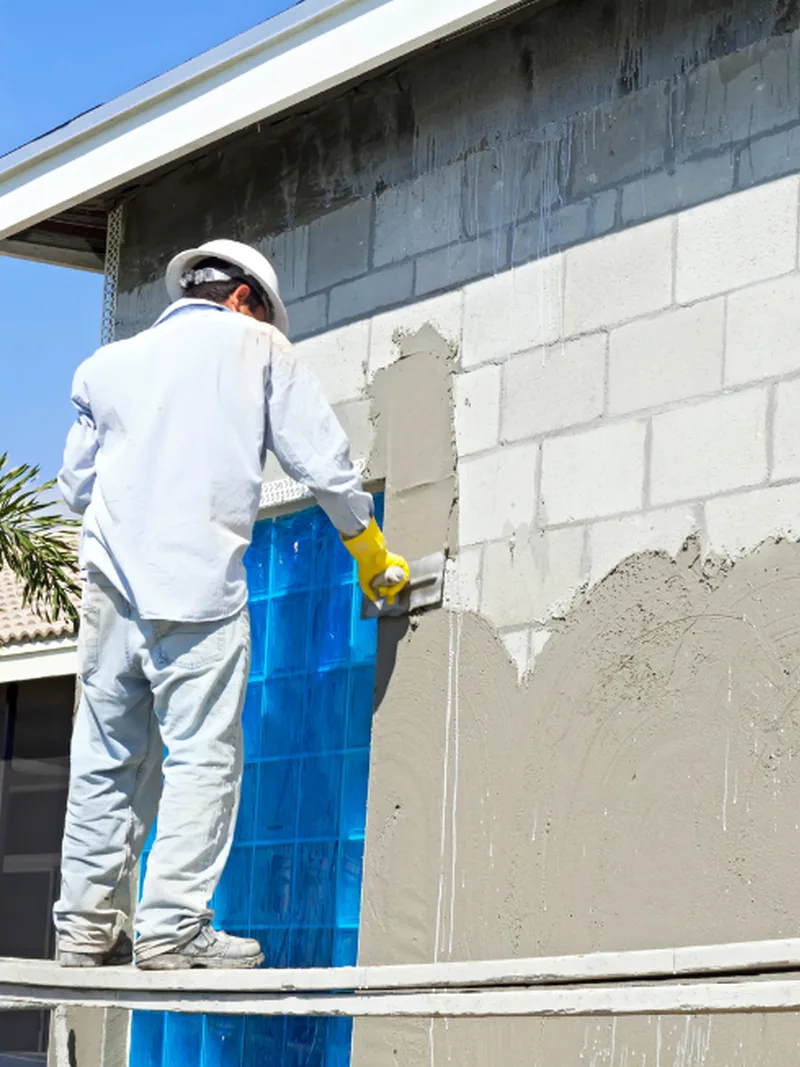
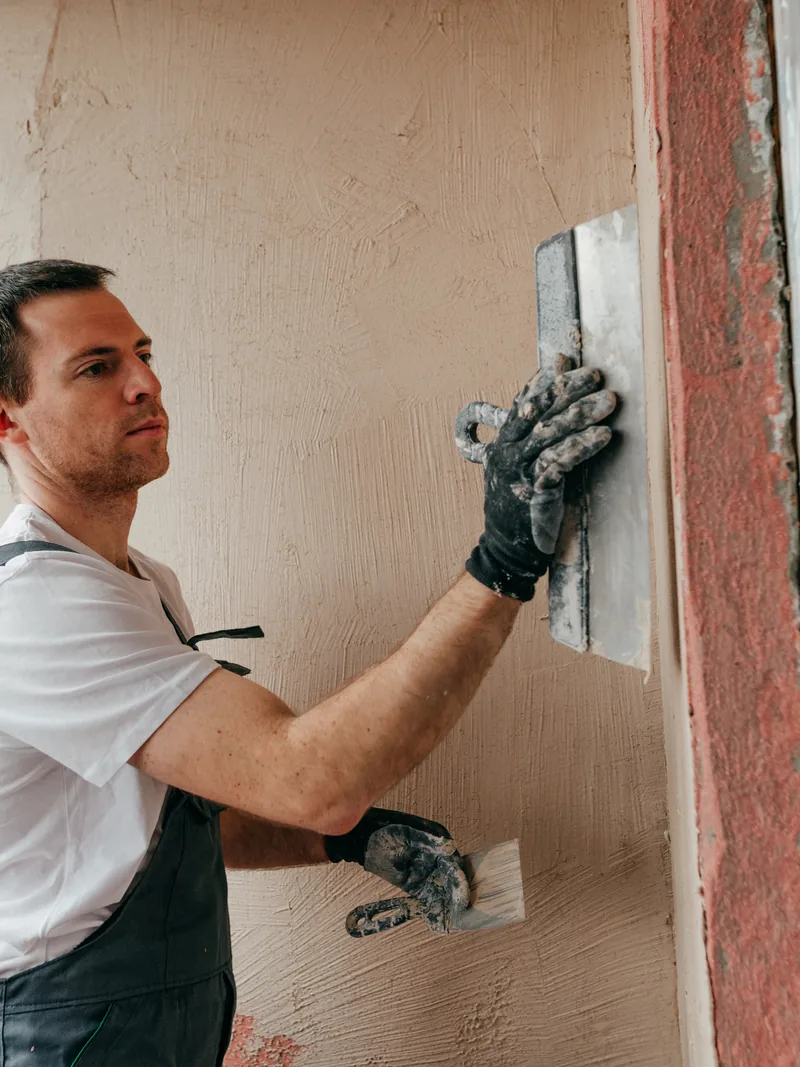
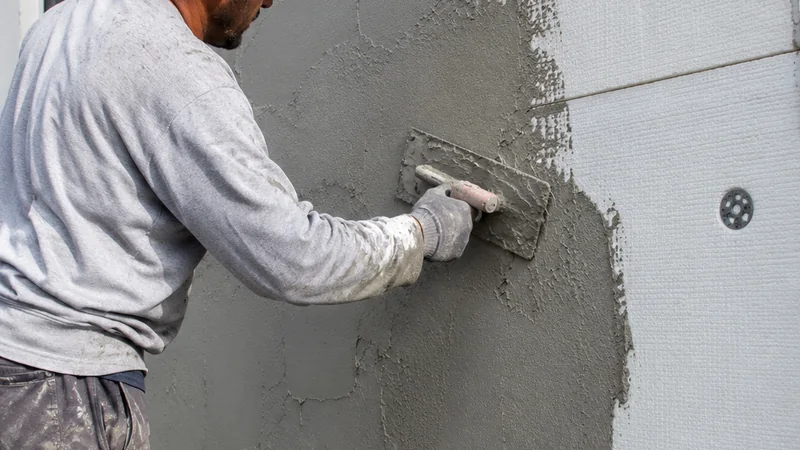
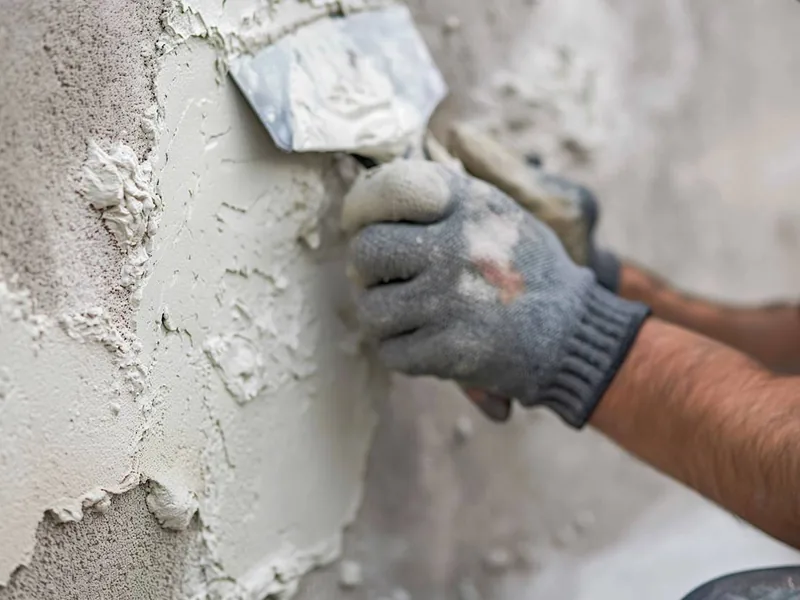
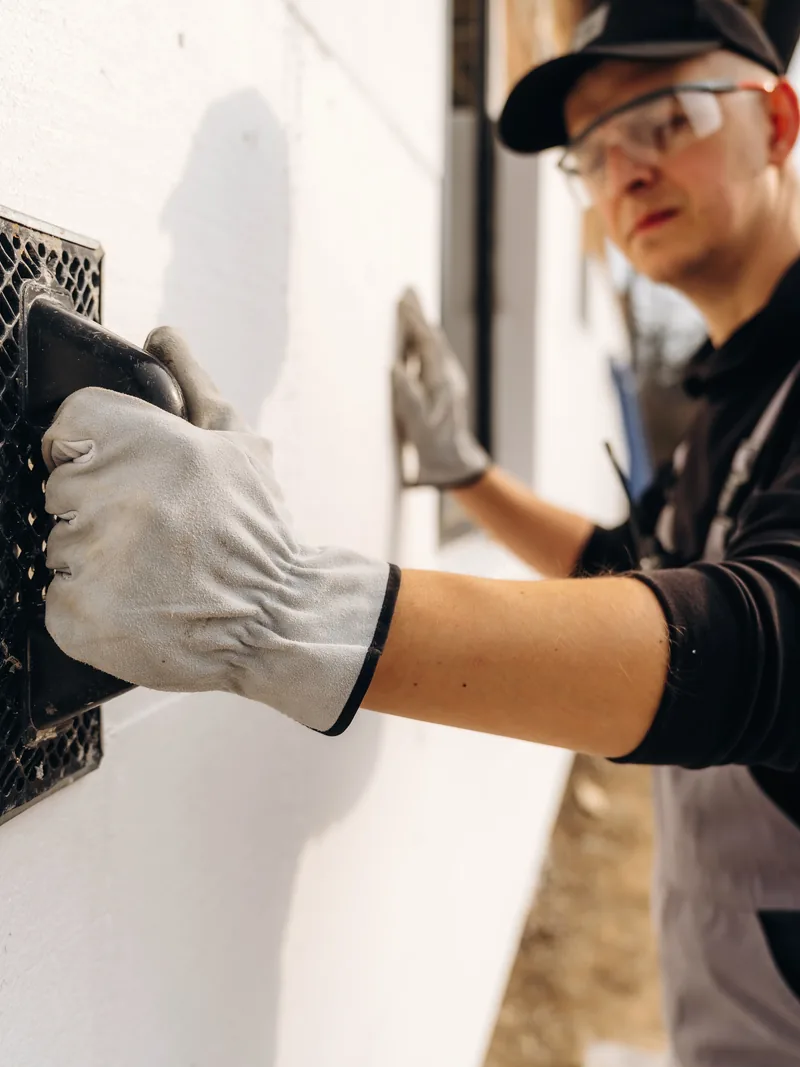
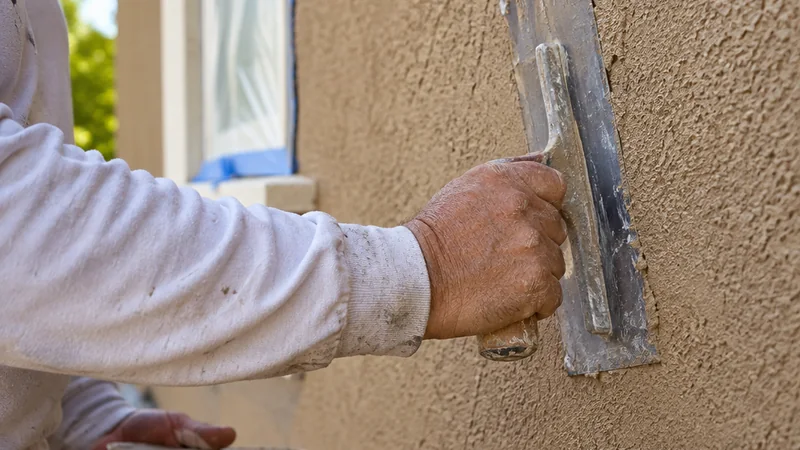
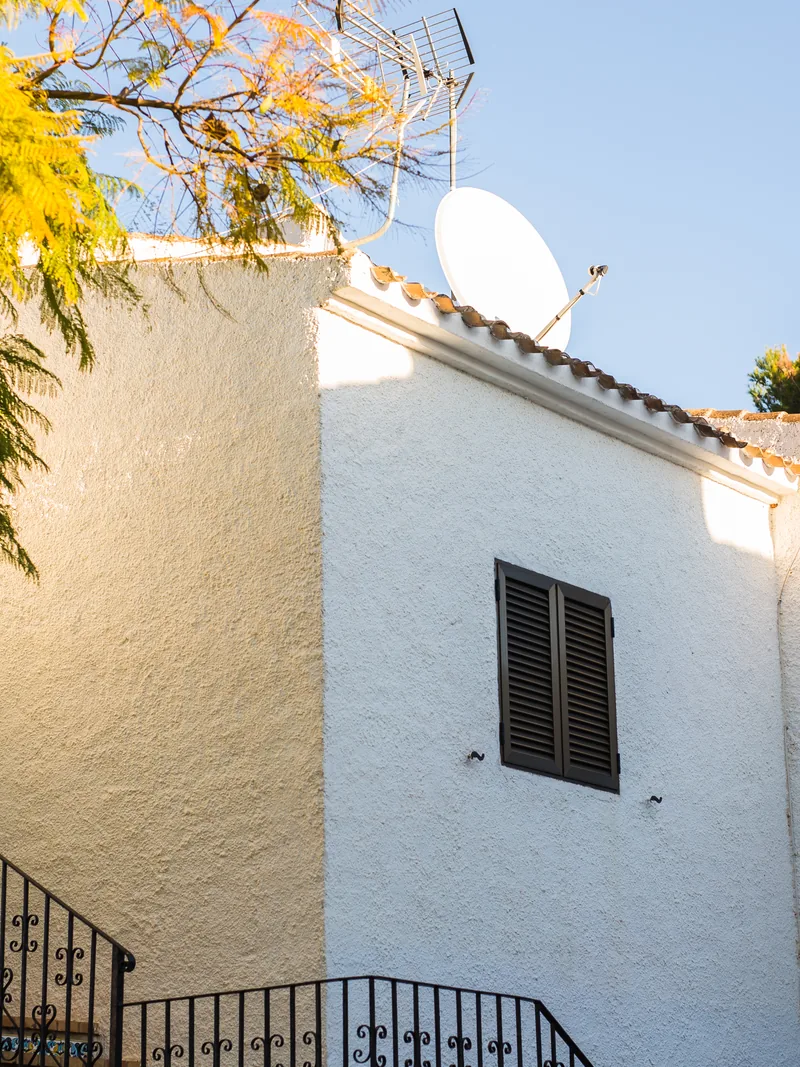
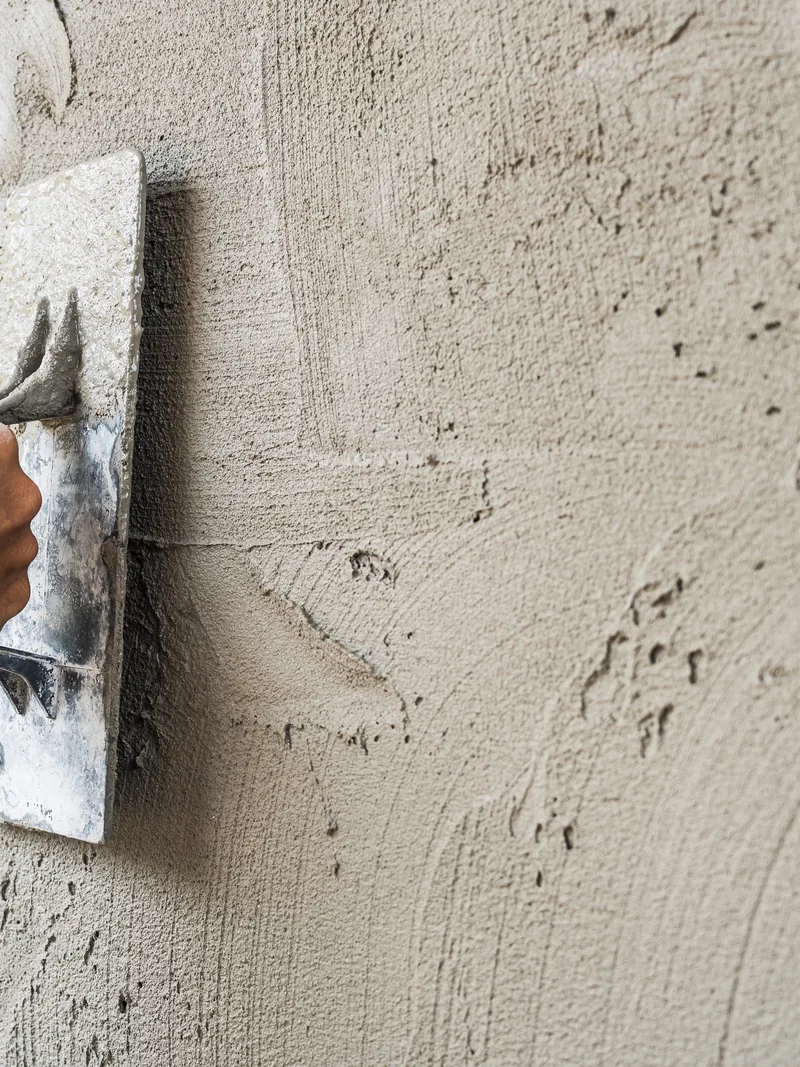
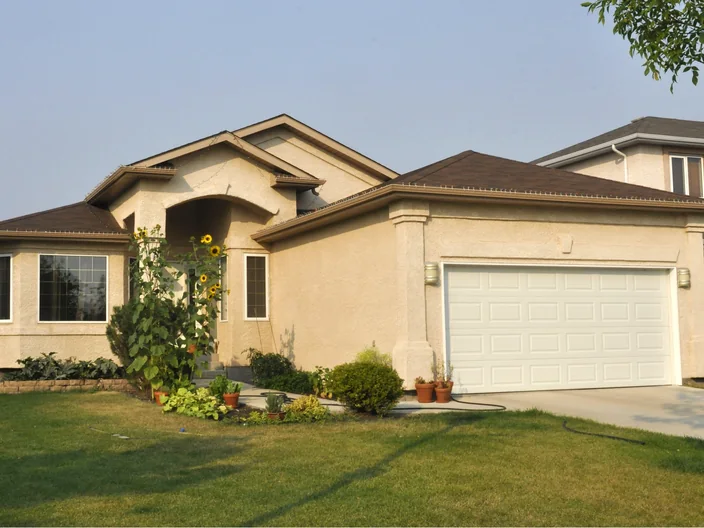
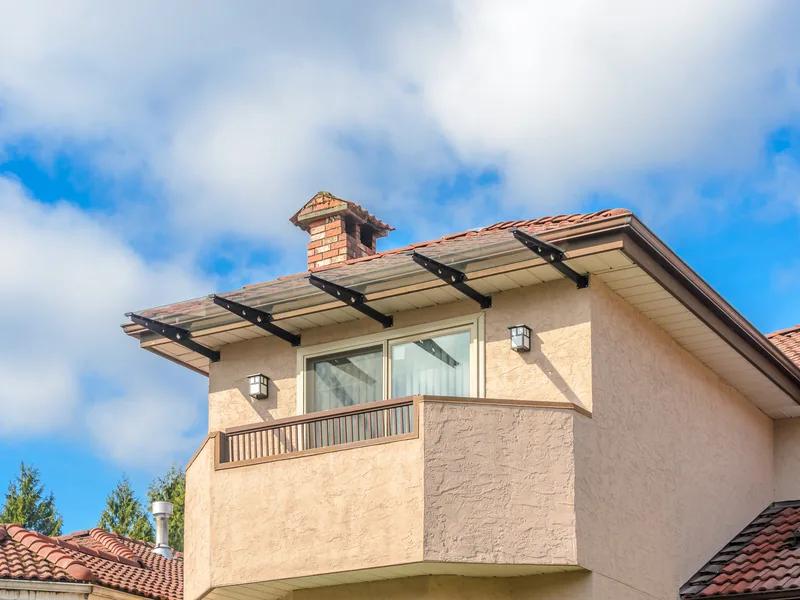
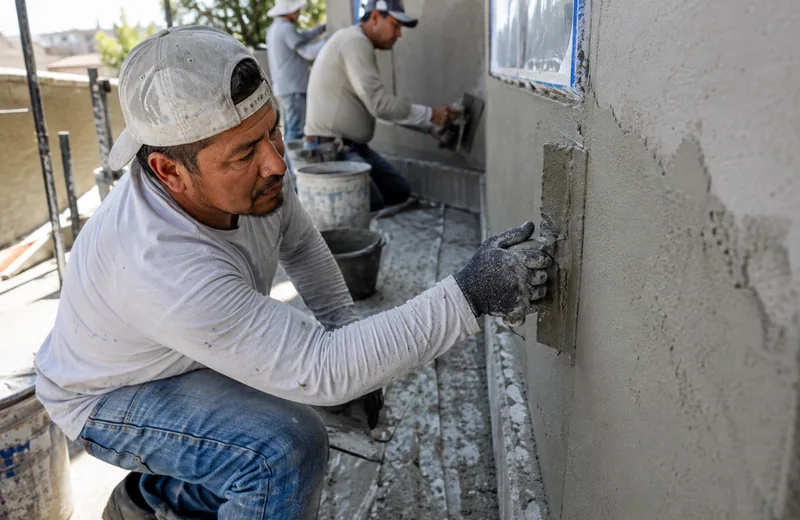
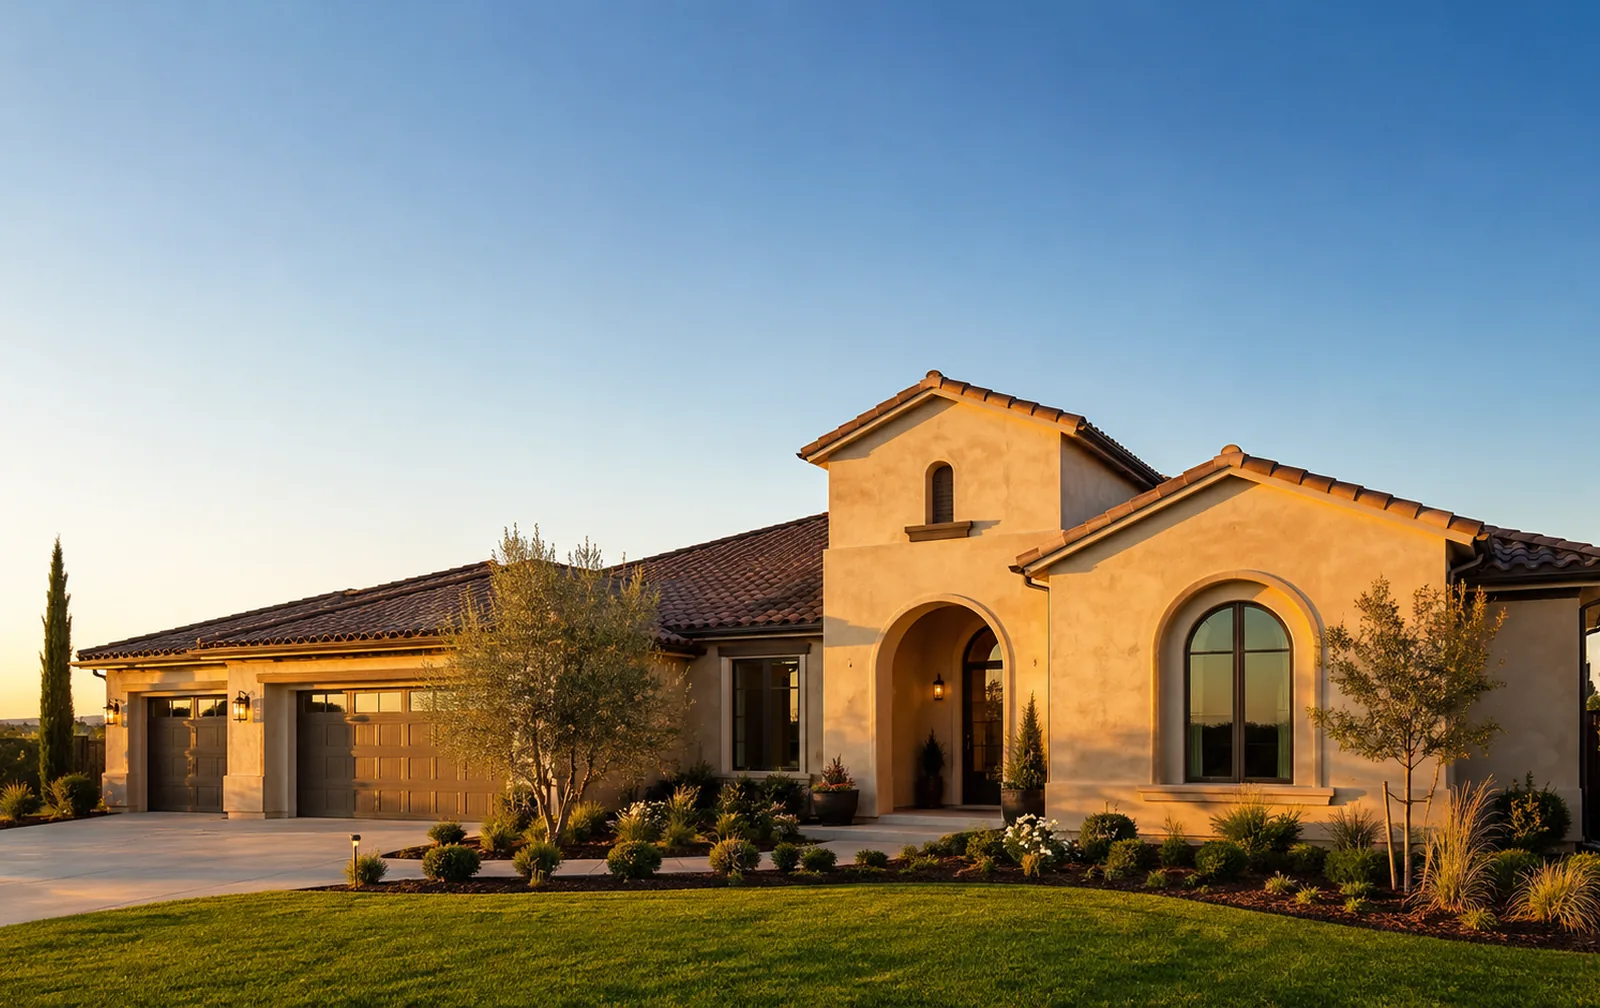
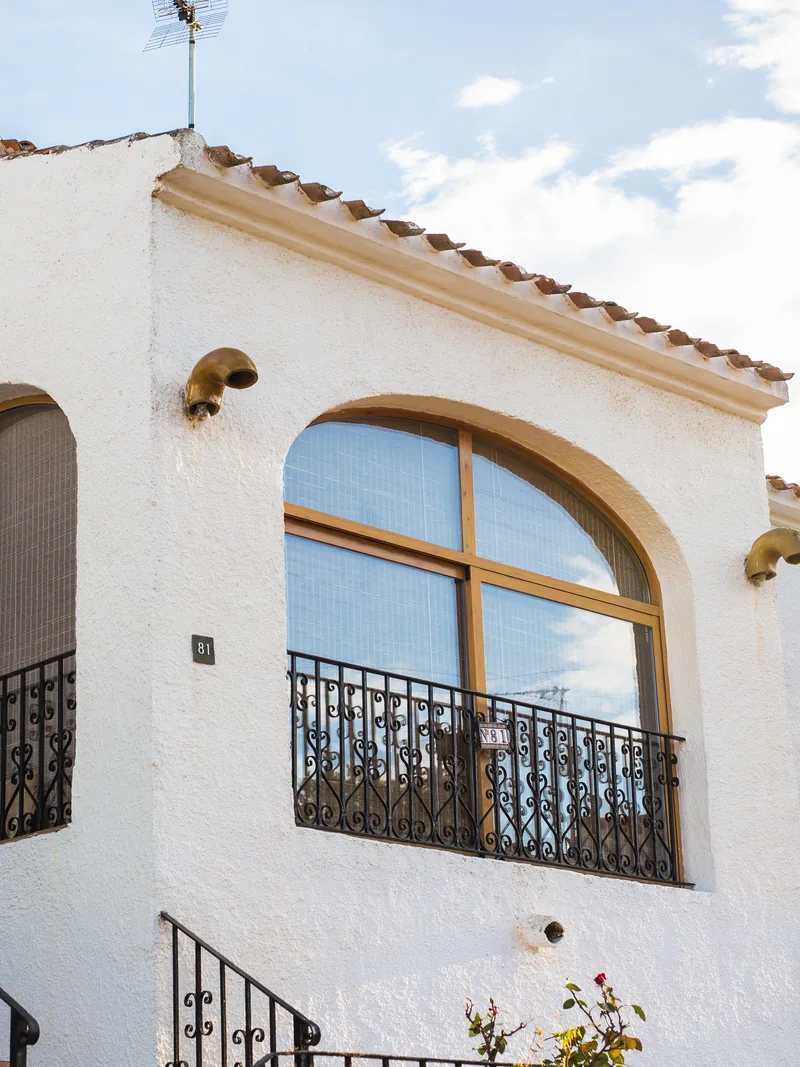
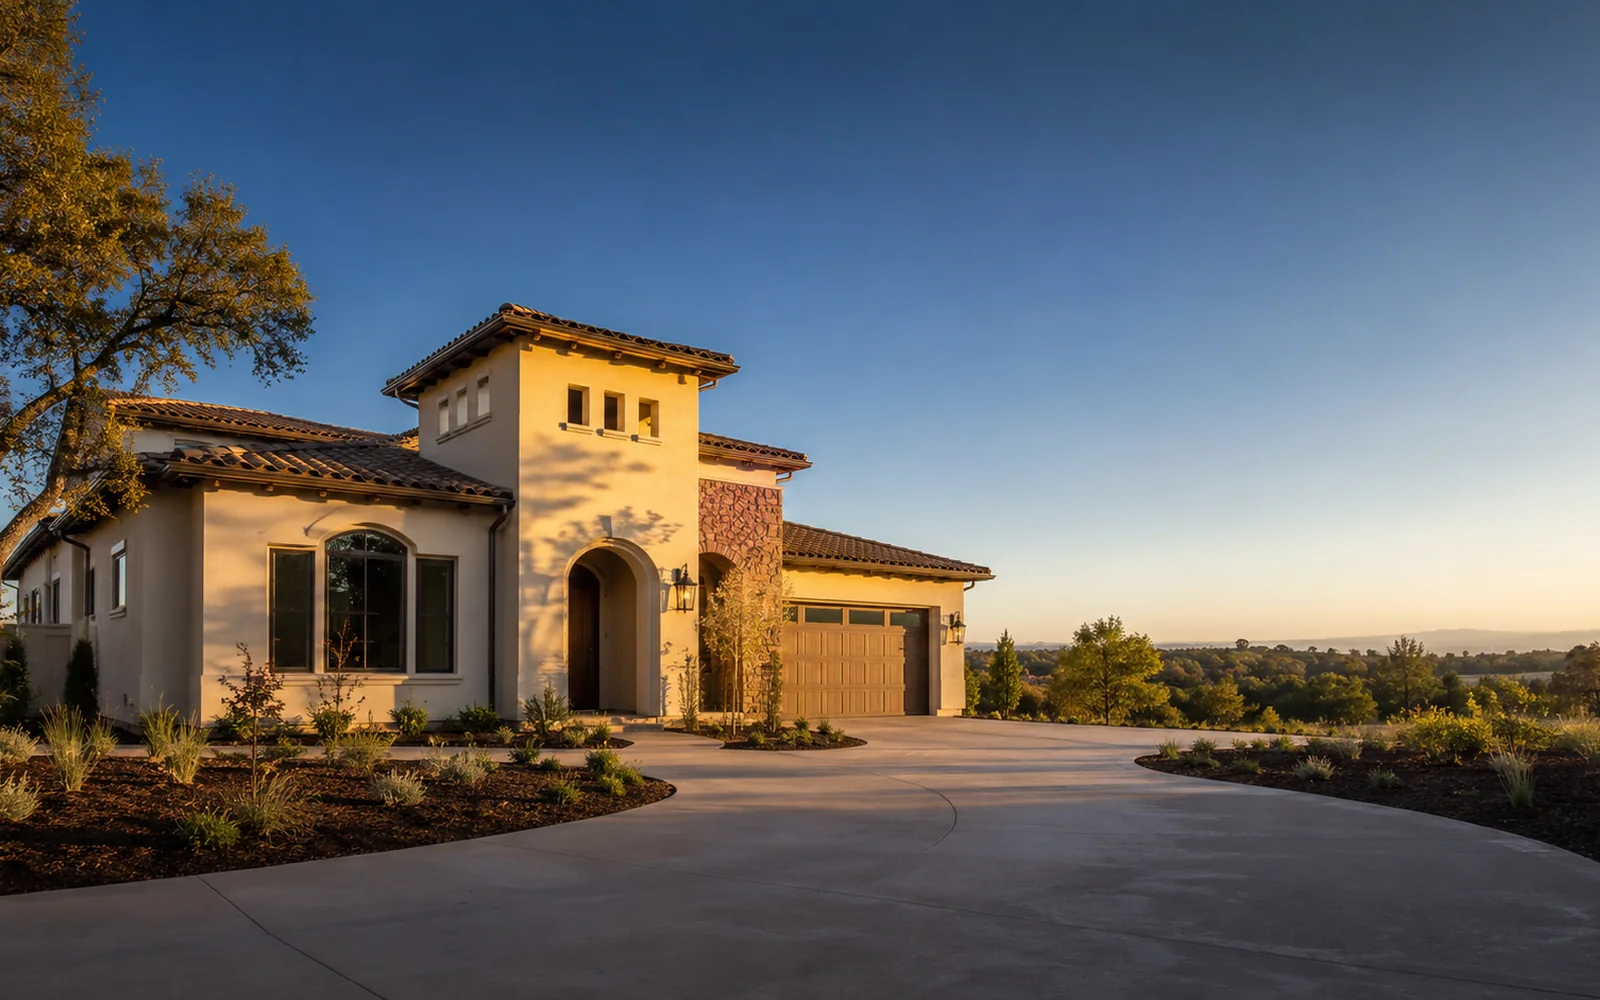
Stucco-finished home exterior in the Chico area Plasterer applying a stucco finish coat to an exterior wall

Stucco Installation for Homes, Additions and Remodels

New stucco installation covers new construction, additions, remodels and siding conversions. On existing homes, the sheathing, water-resistive barrier, lath and surrounding construction determine how we prepare the surface beneath the plaster, known as the substrate, and which system we select.

Full-Wall Work on Existing Homes

On an existing home, the right system depends on what the plaster will actually sit on. Over wood sheathing, we install the water-resistive barrier as two independent drainage layers rather than as a single sheet, so water that gets past the outer layer still has a path down and out. Before the lath goes up, we lay out deliberate straight breaks around wall lengths and openings. These control joints give the wall room to move, so the assembly can accommodate movement without developing uncontrolled cracking later.

Removing old siding or an existing finish exposes conditions that would otherwise remain hidden beneath the new work. We inspect the exposed wall before rebuilding it, giving us a chance to address damaged sheathing, failed barrier material or poor detailing around openings before those conditions are covered again.

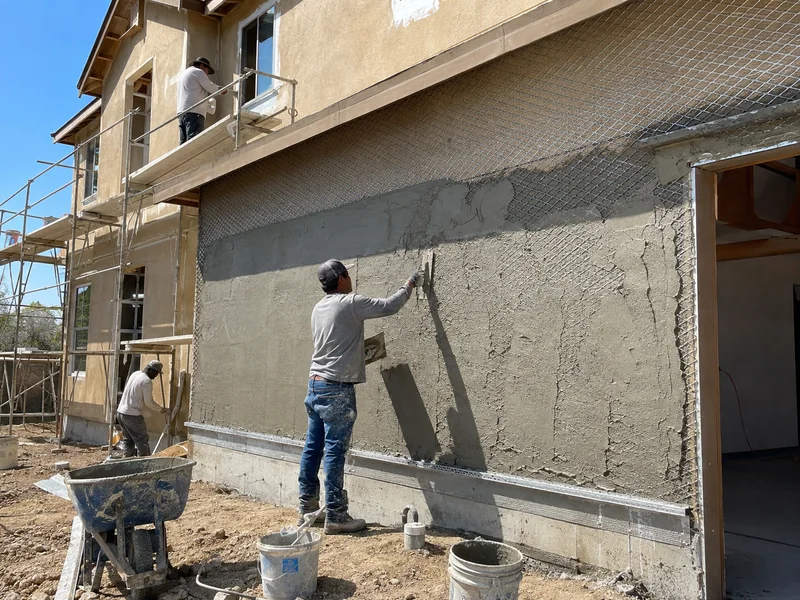
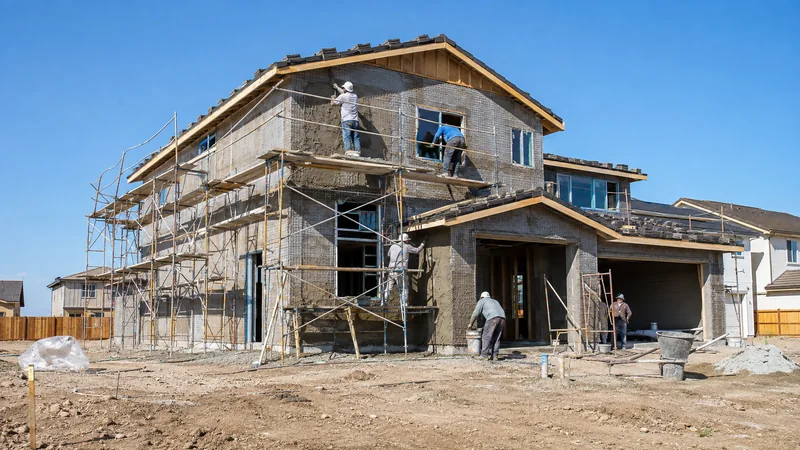
Stucco crew applying a scratch coat over lath on a home under construction

Additions, Remodels and Siding Conversions

When an addition meets the existing house, the new wall assembly must tie into the original construction while matching its texture and color. Remodels can require the same work when windows or doors move, because the water-resistive barrier has to be integrated around the new openings.

Replacing wood, board siding or panel siding with stucco requires the underlying wall to be prepared for plaster and fitted with a compatible stucco assembly. A property may also sit in one of the mapped zones where homes meet fire-prone wildland, known as a designated wildland-urban interface area. In those locations, the noncombustible nature of cement plaster is one reason builders specify it.

What a Complete Stucco Installation Includes

The finish coat you see from the street is only one part of a complete installation. Before texture and color come into the picture, the wall must be able to manage water, movement and the weight of the plaster.

Every installation includes the water-resistive barrier, flashing, metal lath, control joints and other accessories, and the system you select determines how each is detailed. The work can also include a perforated strip at the bottom of the wall that lets water drain out, known as the weep screed. The plaster base coats and selected finish follow. Traditional three-coat stucco layers two structural coats under one finish coat. One-coat systems are the better fit on some substrates and schedules.

To let incidental water move behind the finish and back out of the wall, the drainage assembly must remain continuous around windows, doors, roof intersections and the bottom of the wall. The details in those areas matter just as much as the plaster itself.

Stucco Repair, Resurfacing or Replacement: Which Scope Your Wall Needs

Before we can price a stucco repair, the damage has to be diagnosed. The right scope depends on whether the damage is localized or widespread and what sits behind it. When the surface does not reveal enough, we use a moisture meter and make a probe opening to investigate further.

Cracks, Bulges and Water Intrusion

Different crack patterns raise different questions about what is happening in the wall. Crazing, a network of shallow hairline cracks, usually stays at the surface, while cracking that runs off the corners of windows and doors points to movement. A crack that widens with the seasons raises questions about joint spacing. When a crack runs continuously through the wall, its cause must be established before anything else.

A bulge or a hollow sound when you tap the wall often indicates that the stucco has lost its bond behind that area. Efflorescence, the chalky white bloom that appears below windows and near the base, can indicate moisture moving through the assembly. When a patch never blends in, the wrong mortar or the wrong pigment is usually the reason.

When Repair Is Enough

Repair is usually enough when the damage is limited to isolated cracks, impact holes or a single damaged section, there is no sign of moisture behind the stucco, and the surrounding plaster remains well bonded.

When Resurfacing Is the Right Call

If the existing stucco is well bonded and free of underlying moisture problems, a new finish coat can renew the texture and color without tearing off the wall.

When a Wall Has to Come Off

Widespread deterioration, a failed assembly or patches that keep letting go usually mean the wall will not hold another surface treatment. In those cases, replacement is also the one scope that lets you change the underlying system, not just the finish.

When the Problem Is Behind the Stucco

An intact-looking surface can still hide moisture or an assembly defect behind it. Coating over the surface only postpones the repair.

Our Other Stucco Services in Chico and Butte County

Stucco Removal & Replacement

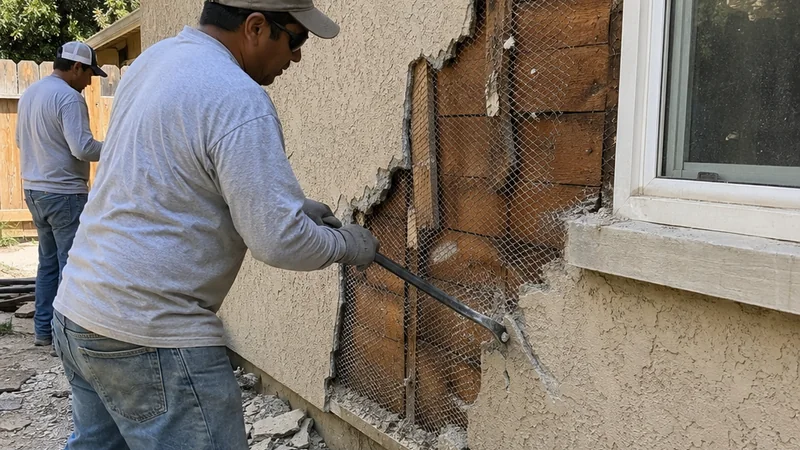
Removing failed stucco to expose the lath for replacement

Replacement is for a wall system too deteriorated to keep; it removes the failed assembly and gives you a new one. We tear off one face of the building at a time, known as an elevation, then inspect the sheathing and framing while the wall is open. We rebuild it with a new barrier, lath and accessories. Pre-1980 construction gets tested for asbestos and lead before anything is disturbed.

New Construction Stucco

Stucco going up on a new building under construction

On a new construction project, the stucco has to keep pace with the builder's schedule and follow the required inspection sequence. Before the scratch coat begins, we coordinate the lath inspection, the hold point where work pauses for the building inspector, with the general contractor. We also plan the flashing sequence at windows and doors with the framer and window installer. For ridge rebuilds in the wildland-urban interface, stucco qualifies as a noncombustible exterior wall covering. The full assembly, including eaves, soffits, and vents, still has to meet the applicable requirements. On multifamily and tract work, we phase the building faces so inspectors have access without stalling the schedule.

Stone Veneer & Stucco

Home combining stone veneer with a stucco exterior

Stone veneer can define a wainscot, column wrap, chimney chase, or entry surround, but it must join the stucco assembly without interrupting the wall's drainage plane. We install adhered manufactured stone veneer over metal lath and a scratch coat, giving the mortar a firm surface to bond to. Behind the veneer, two layers of water-resistive barrier separate the stone from the sheathing. We also maintain the required clearance and drainage gap at the base so water has a way out. You choose the stone profile and mortar joint style, and we make sure the veneer and stucco drain properly as one wall system.

Stucco Remediation

Treating a moisture-stained stucco wall during remediation

A moisture mark on the finish may be only the visible sign of a pathway behind the wall. Remediation goes after that moisture pathway rather than the mark it leaves. We map the readings, remove the sections that need it, and rebuild the barrier, flashing and terminations so the wall drains again. Where mold is visible, a qualified independent specialist handles that assessment, since testing and removal are their own trade.

Stucco Repair

Patching a damaged section of exterior stucco

Repair lets you keep the sound stucco and replace only the part that has failed, instead of losing the whole assembly. We cut back to solid material and lath, then rebuild the patch with the same system used in the surrounding wall. Moving cracks take an elastomeric sealant, while impact damage takes a polymer-modified mortar. The texture match decides whether you can pick out the repair afterward.

Stucco Painting & Coatings

Applying a protective coating to an exterior stucco wall

When sound stucco needs new color or another weather layer, a coating can provide both without adding a new finish coat. Elastomeric paint forms a thick, flexible film that bridges hairline cracks and follows minor wall movement. A high-build acrylic breathes better than elastomeric, making it suitable for a wall that needs to let moisture out. Before coating the prepared surface, we remove mildew and grime and apply a stucco-specific primer. We then apply the coating in two coats.

Decorative Stucco

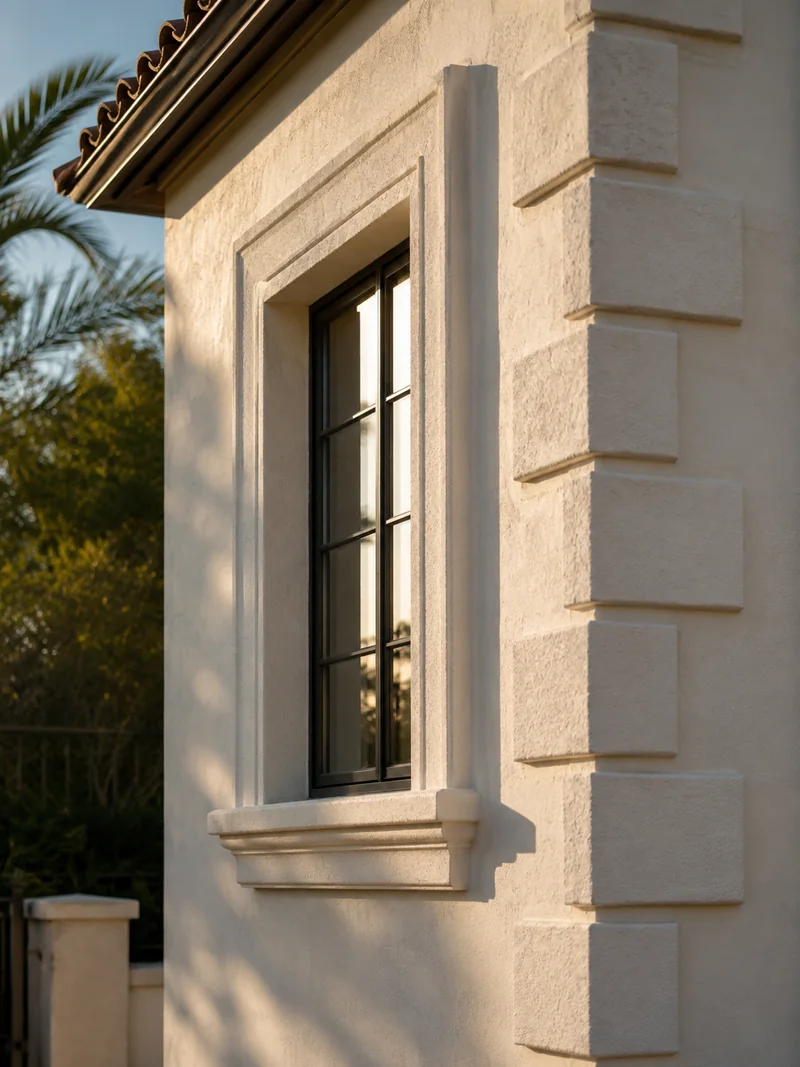
Decorative stucco window surround with molded trim and quoins

Architectural details can give a stucco wall more depth while remaining part of the wall assembly. We shape architectural foam trim into bands, sills, and window surrounds, while corbels and quoins add deeper shadow lines at entries and corners. Each piece receives a mesh-reinforced base coat followed by the wall finish. We can also form arches and columns or cut reveals and score lines into broad wall fields. A Santa Barbara Mission finish or smooth troweled surface can define a feature elevation. Because the detail is coated as part of the wall, it weathers and moves with everything around it.

Stucco Plastering

Applying cement plaster to an exterior wall

Soffits, ceilings and site features often need plaster beyond the home's main wall fields so the whole envelope looks like one continuous surface. Stucco is part of the broader plastering trade, and we plaster porch and patio ceilings, garden and site walls, chimneys and parapets along with soffits. On older Chico houses, we also restore historic lath-and-plaster exteriors when the original base is still sound. The work is repair rather than replacement and is worth doing by hand because a modern spray rig does not reproduce the original hand-floated surface.

Stucco Inspection

Inspector taking moisture-meter readings on a stucco wall

A property sale or unexplained wall problem may call for a written record of what the stucco is actually doing. Most often before a sale, our stucco specialist takes moisture meter readings at wall bases and below doors and windows. If a reading warrants a closer look, probe point testing checks the concealed layer through a small opening. We also inspect the flashing and drainage details around openings and at grade. Buyers, sellers, and property owners receive a documented report, with photographs, marked elevations, findings and a proposed scope, that they can use during the transaction or when planning repairs.

Interior Stucco

Applying interior plaster inside a home

Interior plaster gives a room a hard mineral surface with more depth than painted drywall. We use veneer plaster over blueboard, applying a thin hard coat over the gypsum base. Mantels, niches and accent walls can take smooth lime plaster or a Venetian-style finish, with the trowel controlling the sheen and color. A masonry or framed fireplace can be refinished in smooth, mineral or hand-troweled plaster without rebuilding the surround. When we work in an occupied home, we use containment and dust control so the rest of the house stays usable.

Stucco Systems and Finishes We Install

One-Coat Stucco

One-coat stucco base applied in a single pass

For many new construction projects, a thinner profile and shorter application schedule make a fiber-reinforced one-coat base a suitable choice. The base goes on in a single pass over approved foam or sheathing. The engineered mix follows its manufacturer evaluation report, which sets the tested components and installation requirements.

Traditional Three-Coat Stucco

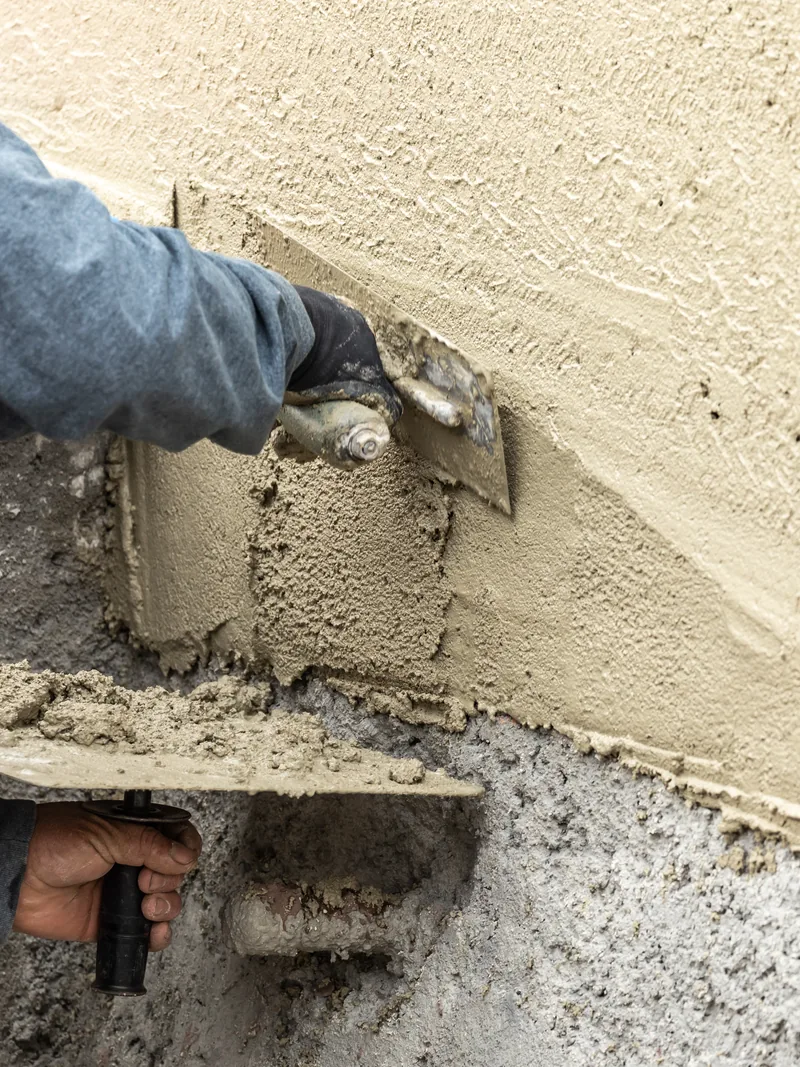
Applying a stucco coat over metal lath

If you want a dense, durable hard-coat assembly, three-coat stucco builds the wall in three passes over metal lath. The scratch coat is scored while wet so the next layer grips it, the brown coat flattens the wall, and the finish is the layer you actually see. The 3/8 + 3/8 + 1/8 inch layers create a nominal 7/8-inch build under ASTM C926, while staged curing produces the finished hard-coat assembly.

EIFS and Synthetic Stucco

Floating the base coat of an EIFS wall

EIFS, short for exterior insulation and finish system, adds exterior insulation to the wall by combining expanded polystyrene foam board with a mesh-reinforced base coat and synthetic finish.

On a wood-framed house, water that gets behind EIFS needs a drainage path so it does not sit against the sheathing. Early EIFS was a barrier system, meaning the finish itself was meant to provide the waterproofing and there was no drainage path behind it. The barrier approach failed when water got in and had nowhere to go, so the system was redesigned around a drainage plane. Code now requires EIFS with drainage over framed walls and allows barrier EIFS only over concrete or masonry. Among one-coat, three-coat and EIFS, EIFS provides the highest thermal value because of its insulation.

Acrylic Stucco Finishes

Troweling an integrally colored acrylic stucco finish

An integrally colored acrylic finish goes over an approved base as the finish coat. It has real body and is thick enough to hold its own texture, and on walls that move with the seasons its flexibility limits fine surface crazing.

Acrylic finishes come in nearly any color and texture you would ask for. Because the color is mixed through the coat rather than painted on top, a chip does not expose a different shade underneath. The finish also stays breathable, so moisture can leave the wall. It suits an owner who wants a durable, low-maintenance finish that holds its color between recoats.

Stucco Resurfacing, Redashing and Exterior Renewal

Stucco resurfacing renews the surface while keeping the serviceable wall underneath: we apply a new finish coat over sound existing stucco rather than covering it with paint.

Redashing and New Finish Coats

The trade calls the new finish coat a redash. Before coating the wall, we perform an adhesion check to find loose or weak areas that could keep the new finish from holding. Where the substrate needs added grip, we apply a bonding agent to help the new material adhere. A typical 1/8-inch finish coat adds texture and body without rebuilding the full three-coat assembly. The added body separates a redash from a coating because it provides enough material to hold a texture instead of leaving only a film of color.

Texture Changes and Color Updates

A dated texture can make an otherwise serviceable stucco wall look ready for replacement. Resurfacing can replace it with a smooth, sand, lace, or Santa Barbara finish, and the practical difference between resurfacing and a re-stucco is thickness. A redash adds roughly an eighth of an inch, so the window trim, hose bibs, light fixtures, and dryer vents stay where they are. A full three-coat re-stucco builds close to seven eighths of an inch, so everything mounted on the wall has to be reset to suit the added thickness. Owners who like the house as it stands often choose the redash for that reason alone.

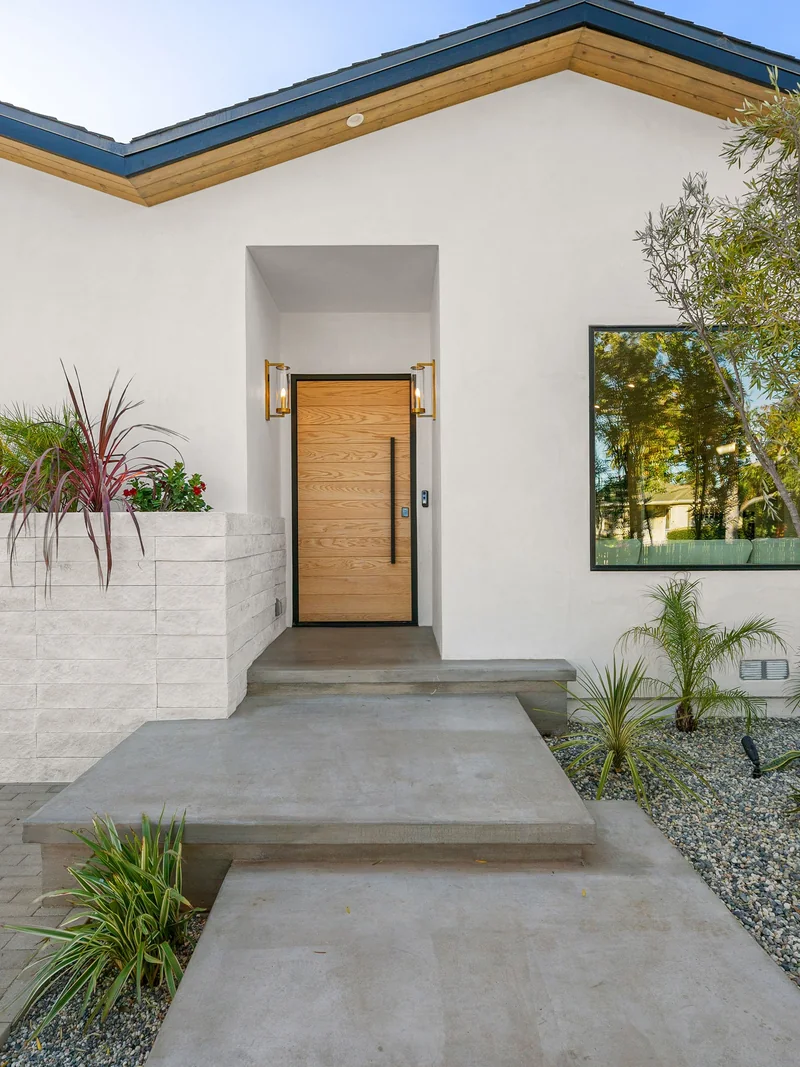
Renewed white stucco home exterior Troweling a fresh finish coat over existing stucco

Residential Stucco for Older and Newer Chico Homes

What your Chico home needs often depends on when and how it was built. Older plaster homes, mid-century tract houses, and newer one-coat construction can look similar from the street, even though the wall assemblies behind the finish are very different. Those differences affect how new stucco is installed and how existing stucco should be repaired.

Pre-War and Mid-Century Houses

Pre-war houses sometimes have stucco installed over older siding, so what sits behind the finish may not be what the plans suggest. Mid-century tract homes often have long, uninterrupted wall runs where the joint layout does much of the work. When that layout was poor, cracks tend to return in the same locations even after the surface has been patched.

Mid-century Chico home with a stucco exterior

On an older wall, a repair also has to blend with years of weathering, previous coatings, and hand-applied texture. Simply matching the stucco to a fresh sample is not enough.

Newer Subdivisions

Newer subdivisions commonly use one-coat systems over foam or approved sheathing. Because these walls repair differently from traditional hard-coat stucco, the wall system needs to be identified accurately, and the outside appearance alone may not provide enough information.

When the history of your wall is unclear, we establish what is behind the finish before writing a scope. Knowing how the wall was built keeps a localized repair from turning into unnecessary full-wall work.

Additions and Residential Remodels

Adding onto a stucco home creates two jobs at once. The new wall has to be built correctly, and the finished addition has to look like it has always belonged to the house. The new water-resistive barrier and flashing must tie into the existing construction, while the exposed finish must match the surrounding texture and color.

Where an addition meets an older wall, the finish needs to make a clean transition between the two. We prepare a sample before applying the finish. If the match cannot be made cleanly across a narrow transition, we will say so and price the larger elevation as an option.

Commercial Stucco and Multifamily Plaster Work in the North Valley

For a builder trying to keep the project schedule on track, commercial stucco is mostly a sequencing job because other trades, inspections, tenant access, and scaffolding all have to line up. Our crews handle metal stud framing and lath at the scale multi-story elevations demand, and they fit that work into the larger project sequence.

Buildings We Work On

When your property is occupied, exterior repairs and restoration have to run alongside a business that has to keep trading. Our commercial work covers retail, office, multifamily, and mixed-use buildings during both new construction and renovation.

Working With Builders and Property Managers

Property managers receive access dates in advance so tenants can be notified before work begins. We coordinate scaffold access and lift placement for multi-story elevations with builders and property managers, then phase tenant access to separate active work zones from entrances and trade routes.

What Chico's Climate Means for Stucco

Your stucco wall has to handle two very different parts of the year. Chico summers bring mid-90s highs and almost no rain, while most of the roughly 27 inches that falls in an average year arrives between late fall and spring.

Chico Heat and Sun

In mid-90s July heat, water can evaporate from Portland cement plaster faster than the material can use it to harden. That hardening process is called hydration, a chemical reaction that needs water held in the mix. When evaporation outruns hydration, it can leave a weak surface with fine surface cracking and a chalky residue that comes off on your hand. We give each coat its own moist cure, schedule work on each elevation around the sun, and put larger projects into the milder shoulder seasons.

Sustained summer sun also fades pigment. We therefore choose the finish material and color for the exposure a wall actually gets, not just for how they look on a sample.

Winter Rain and Drainage

When rain arrives in the cool season after an effectively rainless summer, any water that gets behind the lath needs a path back out. We lap the water-resistive barrier behind the lath and tie the flashing at every opening into it. At the base of the wall, the weep screed lets that water escape.

Hairline cracking near openings can come from poor control-joint layout, so we decide the control-joint spacing before any lath goes up. Ground movement is another cause because much of Chico sits on soils that swell through the wet winter and shrink back through the dry summer. Some cracks are not a stucco fault at all, and recoating those is money you will spend again when the crack comes back.

Sunny Central Valley home with a stucco exterior White stucco home with drought-tolerant landscaping

Choosing a Stucco Texture and Color

The finish you choose gives stucco siding its visual character. The textures used on Chico homes range from smooth hand-troweled finishes to coarse dash textures, and the right choice depends on the building's style, the existing wall, and how much surface variation the finish needs to accommodate.

The Textures Chico Homes Are Finished In

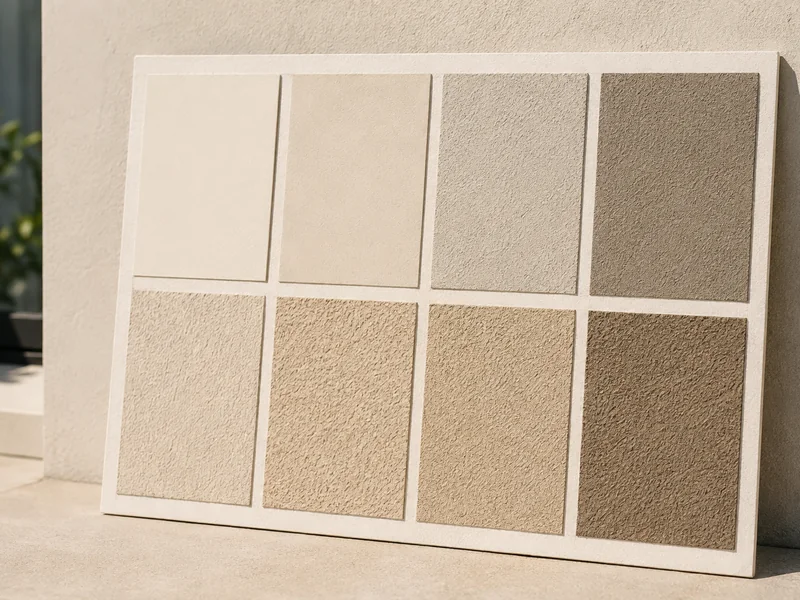
Each texture gives the wall a different appearance. A smooth troweled finish creates a flat field that reveals every plane in the wall, while a sand finish has a fine, even grain that works well across broad elevations. Lace and skip-trowel textures leave broken raised patterns that create more visual movement. Dash texture is sprayed and left coarse, while a Santa Barbara Mission finish uses thin hand troweling for softer, irregular variation.

Stucco finish and color samples on a sample board

On additions and repairs, you will usually want to reproduce the existing texture rather than introduce a new one. When resurfacing an entire elevation, the finish can be changed across the whole wall.

Color, Fade and Matching an Existing Wall

The existing stucco on your home is rarely the same color it was when first installed. Sun exposure, age, previous coatings, and the direction a wall faces all affect how the finish looks today. West-facing walls in Chico usually show fading sooner than protected elevations.

Before the finish goes on, we prepare a sample panel and match the existing texture and color. We also record the pigment information used on the approved sample so later work can be matched more consistently.

Matching Existing Stucco

Finding the original color name is only one part of matching a repair. Texture depth, aggregate, application method, and years of weathering all influence how the finished surface looks next to the old wall.

A small patch can sometimes be blended into the surrounding finish. Where an entire elevation has faded unevenly or contains several previous repairs, resurfacing the larger wall may produce a more uniform result than trying to match several isolated areas.

How a Stucco Project Works with Chico Elite Stucco

From the first call to the last walkthrough, a job with Chico Elite Stucco follows a clear sequence so you know what comes next.

  1. 1

    Call or Request an Estimate:

    Call us or send the quote form, and tell us the wall's age, what changes you have noticed, and which areas are involved. Photos help us understand what the visit should cover.

  2. 2

    On-Site Assessment:

    To understand what is happening across the whole exterior, we walk every side of the property during the free on-site assessment and note visible cracking and signs of moisture. For a sale or purchase, you can receive a documented inspection instead.

    Contractor assessing a stucco wall during an on-site visit
  3. 3

    Written Scope and Estimate:

    You receive a written scope that identifies the stucco system, the finish, and the work we propose. When the wall supports more than one sound option, we price each choice separately so you can compare them.

    Written stucco scope and estimate on a clipboard
  4. 4

    Sample Panel and Scheduling:

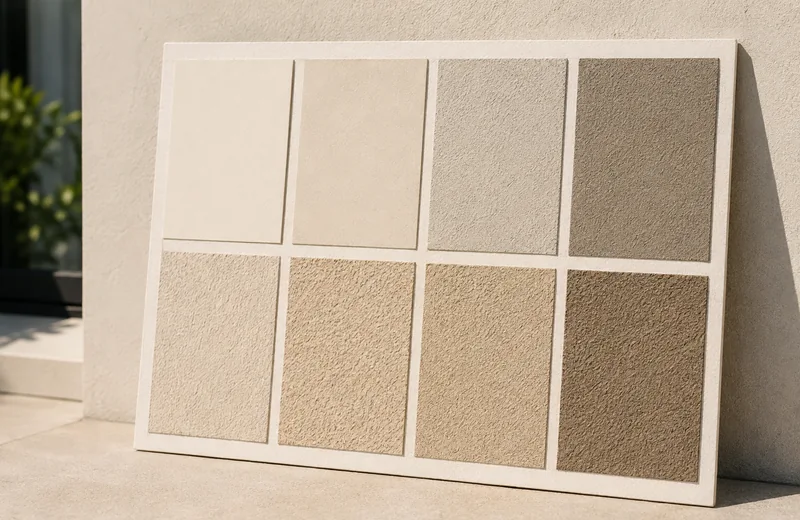
    Before we schedule the job, you approve the texture and color. We then reserve dates that allow the selected stucco system the curing window it requires.

    Stucco finish and color sample panel
  5. 5

    The Work and the Walkthrough:

    While the work is underway, the crew covers the landscaping and paving, keeps the work area orderly, and cleans up before leaving. At the end, you receive a final walkthrough in which we check the work one elevation at a time.

    Crew applying a stucco finish coat to a wall

What a Stucco Contractor Costs in Butte County

Published national and regional pricing guides, last reviewed in August 2026, provide context for what stucco work may cost. The figures are approximate, are not specific to this area, and are not Chico Elite Stucco's prices. The broad market range for installed stucco is roughly $6 to $18 per square foot, while published repair figures commonly fall between about $600 and $2,700.

Your wall's square footage is only part of the price. The condition behind the finish often matters more, so two projects of similar size can have very different costs depending on what has to happen before new plaster goes on.

New Stucco Installation

For a new installation, the system selected, the total wall area, and the preparation required before plastering begins all affect the price. One-coat systems generally fall toward the lower end of the market. Traditional three-coat work requires more material and labor, while EIFS uses a different set of components and installation steps.

Walls that are harder to reach or more complicated to work around take additional time. Multiple stories, scaffolding, lifts, complex rooflines, and walls broken up by windows or architectural details all add time compared with a simple open elevation.

Stucco Repair

A visible crack or stain does not always show how far the damage extends, and that hidden extent can change the repair cost. A localized patch is possible when the surrounding plaster and lath are sound. If moisture has damaged the barrier, metal lath, or sheathing behind the finish, the wall has to be opened farther.

Matching the texture and color can also add preparation time when the repair will remain next to the existing finish. A successful repair has to blend into the surrounding wall rather than simply close the opening.

Removal and Replacement

Full replacement includes demolition and disposal before the new wall is built. Once the existing stucco is removed, concealed damage can change the scope if the sheathing, framing, barrier, or flashing also needs attention.

Your replacement estimate is therefore based on the condition that can be established before demolition.

Why Hire a Licensed Stucco Contractor in California?

Much of the work you hire a stucco contractor to do will be hidden behind the finish, including how the wall was prepared and how the lath and its supporting assemblies were set. A licensed stucco contractor is answerable for that work. Before a crew reaches your property, we document general liability coverage and workers' compensation.

What the C-35 Classification Covers

Before you sign anything, you can check any California contractor's license status and classification at cslb.ca.gov. The Contractors State License Board (https://www.cslb.ca.gov/about_us/library/licensing_classifications/Licensing_Classifications_Detail.aspx?Class=C35) defines the C-35 Lathing and Plastering classification around lath, metal stud channel work, and plaster coatings. Its scope covers troweled and sprayed coatings, including soundproofing and fire-resistive products. That underlying work is hidden once the plaster goes on, which is why the license matters.

What Goes Wrong Without It

Lath layer failure starts when crews fasten the mesh flat to the wall instead of holding it slightly off the surface so the plaster can wrap around and grip it. Reversed barrier lap direction, weep screed omission, and missing control joints invite moisture trouble or random cracking. Eye-matched patches can remain obvious after weathering, while missing general liability coverage leaves you, as the owner, carrying avoidable risk.

Maintaining Stucco Between Recoats

Stucco needs little maintenance, but it does need a yearly look around the outside of the house to catch small problems before water finds them.

What to Check Once a Year

Once the wet season ends, walk around the outside of the house. Check the joint sealant at windows, doors, and control joints because it often ages before the wall does. Stop sprinkler overspray, and keep soil and mulch clear of the weep screed at the base of the wall. Code asks for at least 4 inches of gap to bare earth, or 2 inches to paving, and a tape measure settles the question in five minutes. Bark piled against the wall is the most common version of this fault we find. Note any hairline cracks so you can watch whether they move.

How Often a Finish Needs Renewing

A coating often shows that it needs attention before the calendar does. Run a hand down a sunny wall, and it may come away chalky, or you may find that the sealant has pulled away from a window edge. Most coatings need renewal every seven to ten years. On an older coating, the chalking is ordinary UV wear and means a recoat is due, which is different from the chalky surface of badly cured new stucco described earlier. Renewing the coating then costs far less than waiting for water to find the gap.

Well-kept stucco home exterior Newer stucco home exterior

About Chico and the Areas We Serve

Chico's older homes, mid-century tracts and newer subdivisions all bring different stucco assemblies and repair conditions. At about 243 feet above sea level, Chico sits along the northeast edge of the northern Sacramento Valley and is Butte County's most populous city. Bidwell Park, the Senator Theatre and California State University, Chico anchor the city.

Chico's range of building ages is the practical issue for a stucco contractor: a wall built decades ago may require a very different repair or installation approach from a newer one-coat wall. East of Chico, the construction conditions also change as the valley rises toward Paradise, Magalia and the ridge communities.

Neighborhoods We Serve in Chico

  • California Park
  • Canyon Oaks
  • Doe Mill
  • Little Chico Creek
  • Honey Run
  • Stilson Canyon
  • Meriam Park
  • Mansion Park
  • The Avenues
  • Barber
  • Chapman
  • Mulberry
  • East Streets
  • Eastwood
  • Hooker Oak
  • Mission Ranch

Surrounding Service Areas

If your home is outside Chico, it may still be within our service area. From Chico, our service area extends east into Paradise, Magalia and Forest Ranch, south through Durham toward Oroville, Palermo, Biggs and Gridley, west through Hamilton City and Orland toward Willows, and north through Corning and Los Molinos to Gerber and Red Bluff. We also serve smaller communities between those larger service centers.

  • Durham
  • Hamilton City
  • Paradise
  • Magalia
  • Forest Ranch
  • Cohasset
  • Orland
  • Vina
  • Oroville
  • Palermo
  • Biggs
  • Gridley
  • Richvale
  • Butte City
  • Corning
  • Los Molinos
  • Gerber
  • Red Bluff
  • Willows

What Chico Homeowners and Builders Say

Frequently Asked Questions About Stucco in Chico

Still deciding? Call us, and we will look at the wall with you.

How Long Does Stucco Last in Chico?

A properly installed traditional three-coat stucco system can last 50 years or longer. The finish and sealants generally need attention well before the underlying plaster does, particularly on Chico walls exposed to strong sun.

How Long Does a Stucco Installation or Replacement Take?

Wall area sets the baseline. Tear-off, repairs uncovered behind the existing stucco, the number of coats and required curing time all affect the schedule. Hot summer weather can also change when individual elevations are worked.

Can Stucco Be Installed Over Existing Siding?

Sometimes, but we usually recommend removing it. Taking the siding off lets the substrate, water-resistive barrier and lath be built as a complete stucco assembly.

Can You Repair Only One Section of a Stucco Wall?

Yes, where the stucco around it is still bonded and there is no moisture behind. Matching the texture and color is what decides whether the repair disappears into the wall.

Can a Stucco Crack Come Back After It Is Repaired?

It can, if only the crack was addressed. Cracking driven by ground movement, moisture or joint spacing returns unless the cause is dealt with, which is why we establish it first.

Should I Paint My Stucco or Resurface It?

Paint adds a protective color film over the existing surface. A redash adds a new finish coat with enough body to change both the texture and the color.

How Long Before I Can Paint or Coat New Stucco?

Portland cement stucco commonly needs 28 to 60 days to cure, depending on the system and weather. Applying a coating too soon can trap moisture and cause peeling.

What Is the Difference Between One-Coat and Three-Coat Stucco?

Three-coat is the full-thickness hard-coat wall, built in three passes over lath. One-coat replaces the scratch and brown passes with a single engineered, fiber-reinforced base, thinner and faster to apply over an approved substrate. The right system depends on the building, substrate and project requirements.

Do You Have to Remove Old Stucco Before Installing New Stucco?

Not always. Sound existing stucco can sometimes be resurfaced with a new finish coat rather than removed. Full removal is more appropriate where the existing assembly is deteriorated, poorly bonded or has moisture or drainage problems behind the finish.

Can New Stucco Match the Existing Stucco on My House?

Usually, although age and weathering make the match more involved than choosing a color from a chart. We match both texture and color on a sample before applying the finish. On additions and localized repairs, the goal is to blend the new work into the surrounding wall as closely as practical.

What Causes Stucco to Bulge or Sound Hollow?

A bulge or hollow sound can indicate that the plaster has lost its bond to the material behind it. We evaluate before patching, because bond loss usually runs wider than the visible bulge; tapping outward from it finds the true edge.

Can a Handyman Do Stucco?

Small cosmetic patches may fall within limited handyman work, but larger stucco projects in California generally require a properly licensed contractor. Full-wall work also involves the water-resistive barrier and metal lath behind the finish, where installation errors can lead to moisture problems.

Will Insurance Pay for Stucco Repair?

Policies usually turn on whether the damage was sudden and accidental. Gradual wear is normally excluded. Your insurer decides, usually on a documented inspection report.

Get a Free Stucco Estimate in Chico

Tell us what your wall is doing, including whether it is cracking, bulging, staining, or shedding its finish. Photographs help us understand the visible condition before the visit. Call Chico Elite Stucco at (530) 783-7384 or use the quote form to schedule a free on-site estimate with a local stucco contractor serving Chico and Butte County.